Self-Hosting Plausible Analytics with MaxMind Integration
•
10 min read
During my research to transition from Google Analytics to a privacy focused solution, I came across Plausible Analytics. I’m easy to please when it comes to analytics. I don’t need to track marketing campaigns or conversion rates, and I don’t care about your activities on other sites. I’m just interested in where you’re from, what platform you’re using, and your screen size, so I can better optimize future designs and features of the website and use the data for any projects I’m working on.
As I was looking at their pricing and estimating future usage, I decided to use Plausible Community Edition to keep my monthly costs as low as possible.
While I found the tutorials and how-to guides from Plausible and DigitalOcean helpful, it still took me over an hour to get everything up and running. I had to search for reasons why I couldn’t get MaxMind working. This guide should hopefully save you some time and help you get up and running in less than 30 minutes.
Getting Started
I assuming you’re tech-savvy and know how to SSH into a DigitalOcean Droplet, acquire a MaxMind license key, and point your (sub)domain to the droplet’s IP address. (Hint: A record) Everything beyond that should be straightforward. All shell/console commands can be run from the droplet’s SSH session.
Setting up DigitalOcean Docker Droplet
DigitalOcean provides a Docker droplet to get you up and running quickly. Click Create Docker Droplet to get started.
If you’re logged into DigitalOcean, you should be taken to a page to setup your Droplet. Choose closest Region and Datacenter to you. Then skip Choose an Image section. (You’ve already selected the image you want.)
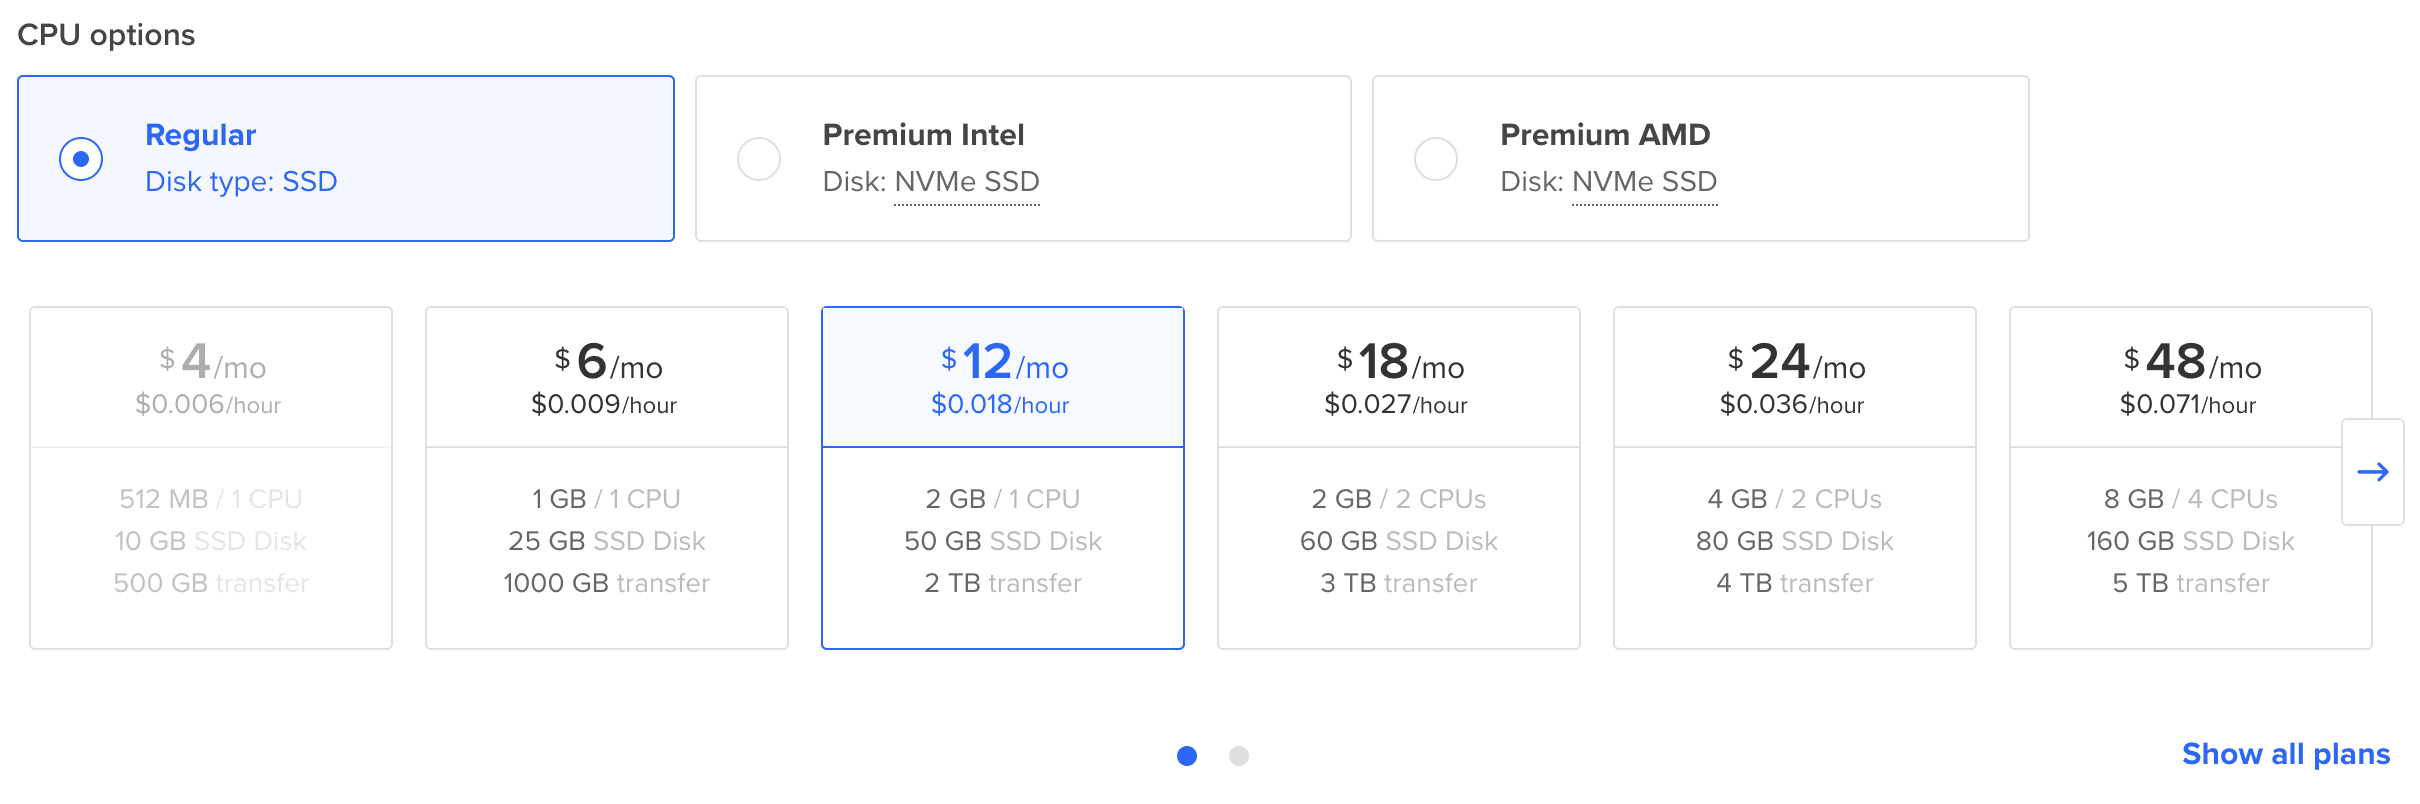
If you plan on running MaxMind you’ll need 2GB of ram, otherwise the 1GB option will do. I chose the $12 per month regular option with 2 GB RAM, 1 CPU, a 50 GB SSD disk, and 2 TB of transfer.
Unless you plan on doing something else with this droplet, skip Additional Storage.
Knowing my luck, I enabled daily Backups.
Choose Authentication Method that works best for you.
You don’t have to, but since it’s free, Add improved metrics monitoring and alerting.
Lastly, under Finalize Details give your droplet a recognizable Hostname, just good practice so you won’t wonder what’s running on it later.
Click Create Droplet and you’re done setting up your Droplet!
Get MaxMind License Key
Even though the Droplet creation process took less than 2 minutes for me, this is a good time to acquire a license for MaxMind. It’s a free license that allows you to get more granular location data for the self-hosted Plausible.
Now that you have your Droplet setup and your MaxMind license key. Let’s start working on setting up Plausible.
You’ll start by connecting to your Droplet instance via SSH. I don’t like to complicate things so I usually use the Droplet Console.
Optionally, you can change the install directory for Plausible but I kept it in the /opt directory, as it’s generally designated for optional software installations. To navigate there after logging in, run the command below:
SSH Session
cd ../opt
Next we’ll install the latest Plausible Community Edition version from GitHub. I’ve highlighted the directory name plausible as that directory will be created and when cloning the repo. If you want to change the directory name, that’s where to modify it.
After running the previous command you should find yourself in the plausible directory where if, you run ls, you’ll see a plausible-conf.env file.
Personally, I prefer using an external text editor to make edits outside of my SSH session and then overwriting everything. However, feel free to use whatever method you’re most comfortable with.
I’ll be using nano to modify the config file. If you’re not familiar with nano, don’t worry you can reference this cheatsheet of commands, and I’ll explicitly include them here.
Using the cat command, let’s view the plausible-conf.env file and I’ll comment on various parts of it.
Viewing plausible-config.env
cat plausible-conf.env
You should see the default config that looks like this:
BASE_URL - This is the url/domain for your analytics. Configures the base URL to use in link generation.
SECRET_KEY_BASE - Configures the secret used for sessions in the dashboard.
TOTP_VAULT_KEY - Configures the secret used for encrypting TOTP secrets at rest using AES256-GCM.
This is where I’d copy the config to an external text editor to make my edits. However, since we’re also setting up MaxMind, use this config as the default:
If you prepared the config in an external text editor, simply copy it into plausible-conf.env and follow these steps. Otherwise, manually add your information and skip to step 8.
Copy your config from the external text editor.
Use Atl + Del on Windows or Option + Del (Might need to use Fn + Del) on Mac in nano repeatedly until all lines have been removed.
Paste the config using Ctrl + Shift + v on Windows or Cmd + Shift + v on Mac.
Save and close the file: Ctrl + s followed by Ctrl + x
Create Docker Container
After setting up your Plausible config, the next step is to get it up and running via a Docker Container.
Use the Docker command to install and start Plausible services.
SSH Session
sudo docker compose up --detach
Verify Plausible is up and running by checking it responds to a curl request.
SSH Session
curl http://localhost:8000
It might take multiple requests, but after a minute or two, it should respond with:
<html><body>You are being <a href="/register">redirected</a>.</body></html>
Setting Up Nginx
Get the latest package list and install nginx
SSH Session
sudo apt updatesudo apt install nginx
Allow public traffic over port 80 & 443 by updating the firewall rules.
SSH Session
sudo ufw allow "Nginx Full"
Edit the config and replace the server_nameexample.com with your domain in the nginx config.
SSH Session
nano reverse-proxy/nginx/plausible
/opt/plausible/reverse-proxy/nginx/plausible
server { # replace example.com with your domain name server_name example.com; listen 80; listen [::]:80; location / { proxy_pass http://127.0.0.1:8000; proxy_set_header X-Forwarded-For $proxy_add_x_forwarded_for; location = /live/websocket { proxy_pass http://127.0.0.1:8000; proxy_http_version 1.1; proxy_set_header Upgrade $http_upgrade; proxy_set_header Connection "Upgrade"; } }}
Save and close the file: Ctrl + s followed by Ctrl + x
Using Certbot and Let’s Encrypt you can add a free certificate to your Plausible instance. You shouldn’t have to worry about renewing it either, as Certbot should take care of that for you.
Add Certbot
SSH Session
sudo apt install certbot python3-certbot-nginx
Acquire a certificate for your domain
SSH Session
sudo certbot --nginx -dyour_domain
You should end up with something like this:
Saving debug log to /var/log/letsencrypt/letsencrypt.log
Enter email address (used for urgent renewal and security notices)
(Enter 'c' to cancel): <my email @ email dot com>

- - - - - - - - - - - - - - - - - - - - - - - - - - - - - - - - - - - - - - - -
Please read the Terms of Service at
https://letsencrypt.org/documents/LE-SA-v1.4-April-3-2024.pdf. You must agree in
order to register with the ACME server. Do you agree?
- - - - - - - - - - - - - - - - - - - - - - - - - - - - - - - - - - - - - - - -
(Y)es/(N)o: y

Successfully received certificate.
Certificate is saved at: /etc/letsencrypt/live/example.twaites.com/fullchain.pem
Key is saved at:         /etc/letsencrypt/live/example.twaites.com/privkey.pem
This certificate expires on 2024-12-09.
These files will be updated when the certificate renews.
Certbot has set up a scheduled task to automatically renew this certificate in the background.

Deploying certificate
Successfully deployed certificate for example.twaites.com to /etc/nginx/sites-enabled/plausible.conf
Congratulations! You have successfully enabled HTTPS on https://example.twaites.com

- - - - - - - - - - - - - - - - - - - - - - - - - - - - - - - - - - - - - - - -
If you like Certbot, please consider supporting our work by:
* Donating to ISRG / Let's Encrypt:   https://letsencrypt.org/donate
* Donating to EFF:                    https://eff.org/donate-le
- - - - - - - - - - - - - - - - - - - - - - - - - - - - - - - - - - - - - - - -
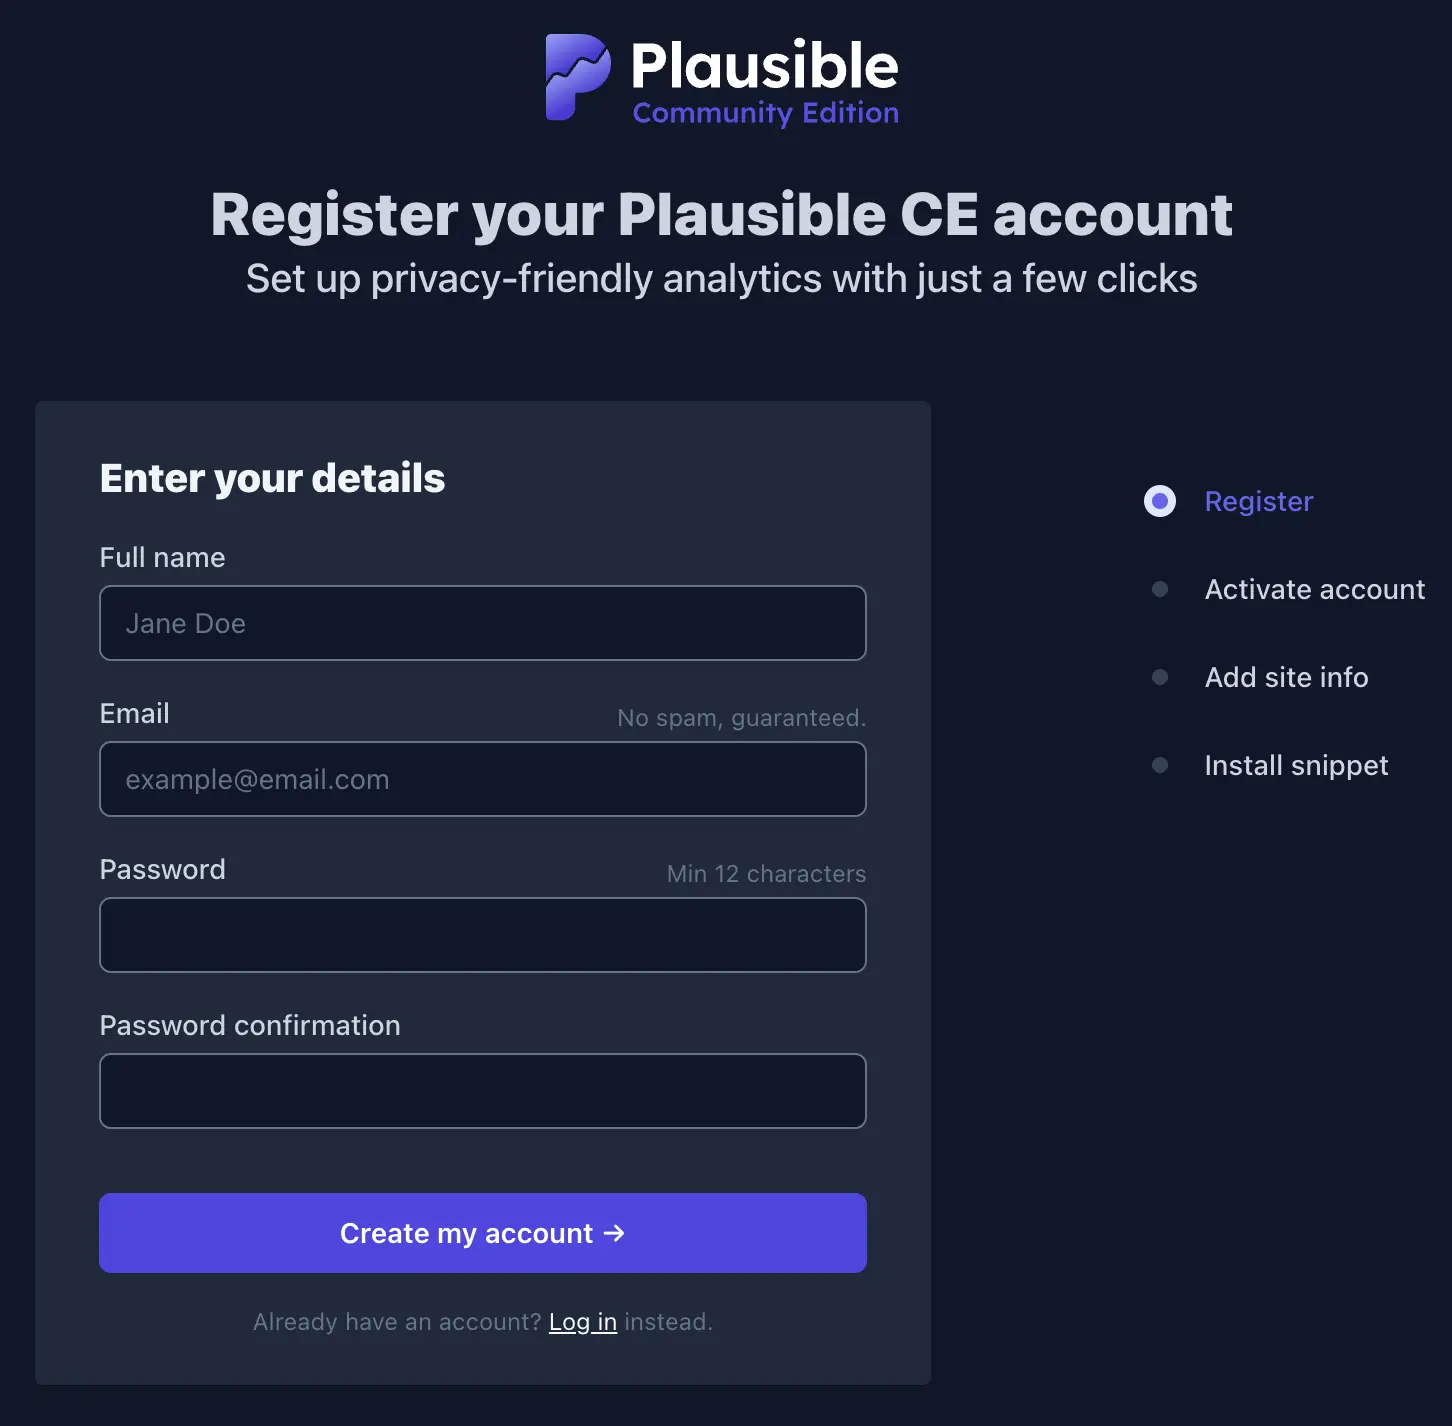
Plausible Registration
Follow the setup wizard to setup your Plausible instance.
Following Flavio’s instructions, a good idea is to disable registration by updating your plausible-conf.env. Open the Plausible config file.
Save and close the file: Ctrl + s followed by Ctrl + x
Restart your Docker Container by running these commands.
SSH Session
apt install docker-composedocker-compose down --remove-orphansdocker-compose up -d
Congratulations!!!
You’ve successfully set up Plausible Community Edition with Nginx as a reverse proxy and SSL encryption. I hope this guide made the process smoother and faster. With your privacy-focused analytics up and running, you can now start gathering valuable insights about your visitors while keeping full control of your data.
If you run into any issues or have suggestions for improvement, don’t hesitate to reach out!
The right to privacy is the foundation of all other rights.